Note: For this little trick we will need a program to capture the live video for iTunes. I used Snapz Pro X. If you find others that work let me know.
- The first thing your going to want to do is turn off all unnecessary programs that can burn up CPU. Due to the disk and processing needs you will want as little running as possible. This includes iMovie.
- Next we will set up the iTunes visualizer to be about 640x480. In Snapz Pro you can check the size of your capture window by holding down the control key while dragging the windows handles. There is no secret to this just a matter of patience.
- You may want to make a separate playlist with the one song in it then keep restarting the iTunes visualizer until you get the Visual look you want.
- Start the capture. You may want to use the "Microphone Track" option. This will enable you to line up the good quality video later.
- When the capture is complete save it as a DV/DVCPRO - (NTSC or PAL) depending on your target video. In the US? Then use NTSC
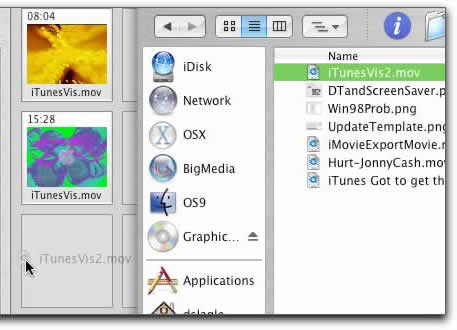
- Import this file by dragging it from the finder to the iMovie clips
pane

- Once imported use you scrubber bar to find the beginning on the music then back off a few seconds
- Crop the head of the video before the music starts (Command-T) then delete the extra footage
- Crop the tail of the video
- Add a fade in and fade out
- Select the video and extract the audio (Command-J)
- Select the audio clip and unlock it (Command-L). This will allow it to be deleted later
- Find where your music starts
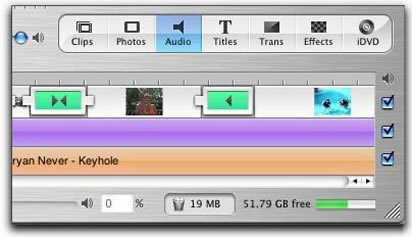
- Find your music and import your music
- Line it up with the video. You can use the check boxes at the right
to enable and disable your audio till you can get the sound lined up.

- Delete the extracted audio (This will make sure only your good recording is playing)
- Done

